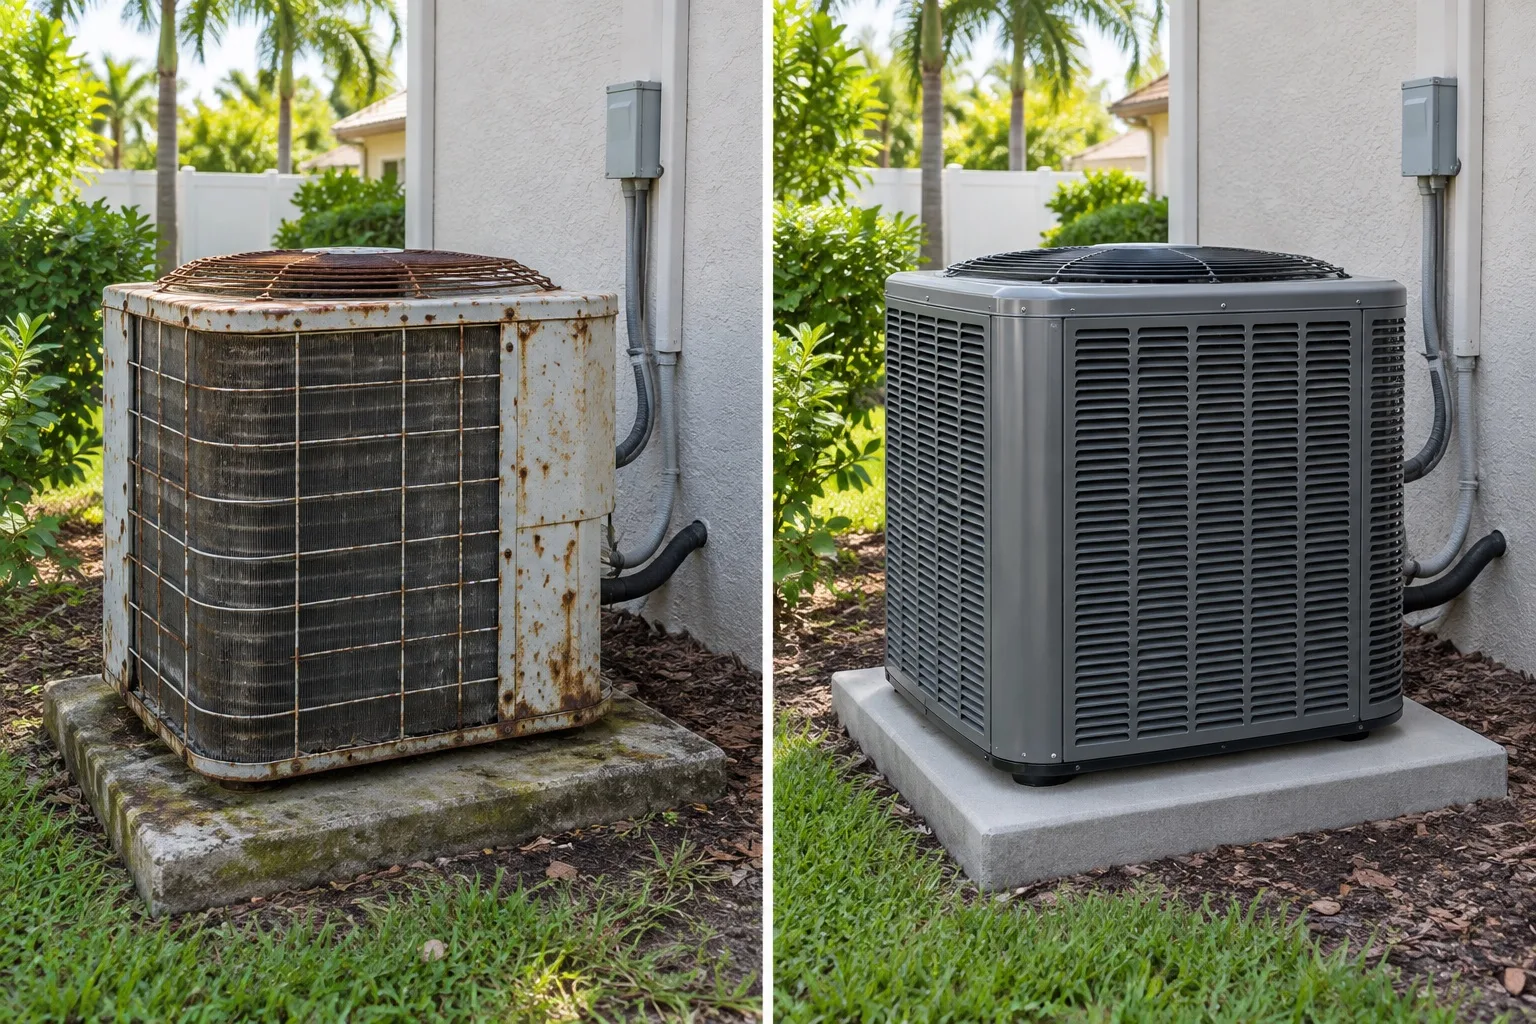
Your Bryant system’s heat strips have failed in Trinity — high bills, or cold nights the system cannot quite handle — and the diagnosis is confirmed. Now comes the decision that matters more than the repair itself: what does this failure mean for the system as a whole? A failed heat strip is sometimes just a failed heat strip — a wear item at the end of its life, replaced in an afternoon. And sometimes it is the messenger for a larger story: a struggling heat pump leaning on backup heat, an aging system entering its failure cascade, or controls deteriorating across the board. This guide is the decision tree: the three branches this diagnosis can take, the criteria that choose between them, the costs and consequences of each, and how to make the call with complete information. Bryant’s Evolution™ communicating system and Perfect Humidity™ control give us unusually good data for this decision — the system’s own history helps choose the branch.
Branch One: The Simple Repair
The most common outcome, and the right one when the evidence supports it. The criteria: the heat pump side is healthy — verified capacity, clean fault history on the Evolution control, no pattern of recent failures — and the strip failure is isolated: a burned-out element, a welded sequencer, a failed relay, with the rest of the electrical system sound. The system is mid-life or younger with a reasonable service history. The action: genuine Bryant replacement elements and sequencer, matched to the specified kilowatt rating, staging verified, safeties tested, current draw confirmed per stage — the complete electrical restoration described on our service pages. The expected outcome: bills return to baseline, the system resumes its normal rhythm, and the repair’s workmanship warranty covers the work. Choose this branch when the failure is the story’s end, not its beginning — the technician’s whole-system assessment is what tells you which it is.
Branch Two: Repair Plus Root Cause
Sometimes the strips are the casualty, not the cause. The criteria: the Evolution fault history shows the heat pump struggling — declining capacity, frequent aux calls stretching back months, sensor drift, or a compressor working harder than its age warrants. The strips failed because they were overworked compensating for a heat pump that could not carry its share. Replacing only the strips in this scenario is the classic incomplete repair: the new elements inherit the same overwork, and the bills stay high. The action: the strip replacement plus the root-cause repair — refrigerant charge correction, sensor replacement, control restoration, whatever the heat pump side needs — quoted together, fixed, before work begins. The expected outcome: both halves of the heating system restored, the strips returning to their proper rare-assist role. This branch costs more than branch one and is worth more — it fixes the disease, not just the symptom. The diagnostic evidence distinguishes it: ask the technician directly, “is the heat pump side healthy, or were the strips compensating?”
Branch Three: The Replacement Conversation
And sometimes the strip failure is the moment the larger decision arrives. The criteria: the system is well past its expected service life; the Evolution history shows a pattern of escalating failures across multiple subsystems; the strip repair plus the root-cause work approaches the 50% threshold against replacement cost; or the system’s efficiency — even fully repaired — lags a generation behind what a new system would deliver. The action: a complete, unpressured replacement assessment — load calculation, equipment options, the full economics of repair-versus-replace with real numbers, and the value of a fresh full warranty. The expected outcome: a decision made on your timeline with complete information — which sometimes means repairing now and planning replacement deliberately, and sometimes means replacing now. What this branch is not: a sales pitch triggered by a strip failure. The replacement conversation is legitimate only when the evidence supports it, and you should expect the technician to show you that evidence — the failure pattern, the numbers, the history — not just the conclusion.
How the Evolution Data Chooses the Branch
Your Bryant’s communicating system is the decision’s best witness. The Evolution control’s logged history — aux staging frequency over seasons, fault events, capacity trends, sensor readings — provides the objective record that separates the branches. Branch one shows a clean history with an isolated electrical event. Branch two shows months of escalating aux reliance preceding the failure. Branch three shows the multi-year pattern of spreading faults. Ask the technician to walk you through this history during the diagnosis — it takes ten minutes, and it transforms the decision from opinion to evidence. A company that cannot or will not show you the system’s own data is asking you to decide on trust alone; the data exists, and it belongs to you. In Trinity homes with Evolution systems, the branch choice is rarely a judgment call — it is a reading.
Making the Call: The Decision Framework
With the branch identified, decide deliberately. Get the numbers: the fixed repair quote for your branch, and — if branch two or three — the replacement economics alongside it. Every option priced, nothing vague. Consider the household timeline: how long you plan to stay, the budget’s shape this year versus next, the value of reliability for your household’s needs. Weigh the warranty: a newer system under parts warranty leans repair; an out-of-warranty system with a pattern leans conversation. Sleep on branch three: the replacement decision deserves a night — any company that demands it tonight is selling, not advising. Document the decision: whatever you choose, the reasoning goes in your records with the quotes — future you will thank present you. The strip failure brought you to this fork; the framework gets you through it with the right choice for your home, your budget, and your Bryant system.
How do I know which branch I’m on?
The technician’s whole-system diagnosis places you: heat-pump health, Evolution fault history, failure pattern, and the numbers. Ask directly — “is this isolated, is there a root cause, or are we in replacement territory?” — and expect an evidence-backed answer.
Can I just do the strip repair and decide later?
Often yes — branch one is exactly that, and even branch two’s root-cause work can sometimes stage sensibly. What you cannot do is skip the diagnosis that identifies the branch; deciding later without information is just deciding blindly.
What if the technician pushes replacement immediately?
Ask for the evidence: the failure pattern, the cost comparison, the system history. A legitimate branch-three recommendation comes with documentation; a sales pitch comes with urgency. The distinction is visible when you ask for it.
Does a strip failure damage the rest of the system?
The failed strips themselves rarely damage other components — but the conditions that killed them (overwork from a struggling heat pump, electrical faults) can stress the system. This is why the whole-system assessment matters: it finds what the strips were compensating for.
How long can I take to decide?
Branch one: schedule the repair promptly — the system needs its backup heat. Branch two: same, with the root-cause work. Branch three: take the night, get the numbers, decide deliberately — but decide; an undecided system is an unrepaired one, and winter does not wait.
One failure, three branches, one right answer for your home — found through evidence, not pressure. If your Bryant’s heat strips have failed in Trinity, call our 24/7 line: whole-system diagnosis with the Evolution history as witness, the branch identified with data, fixed quotes for every option, and the decision made on your timeline. The strips were the messenger. Now hear the whole message — and choose well.