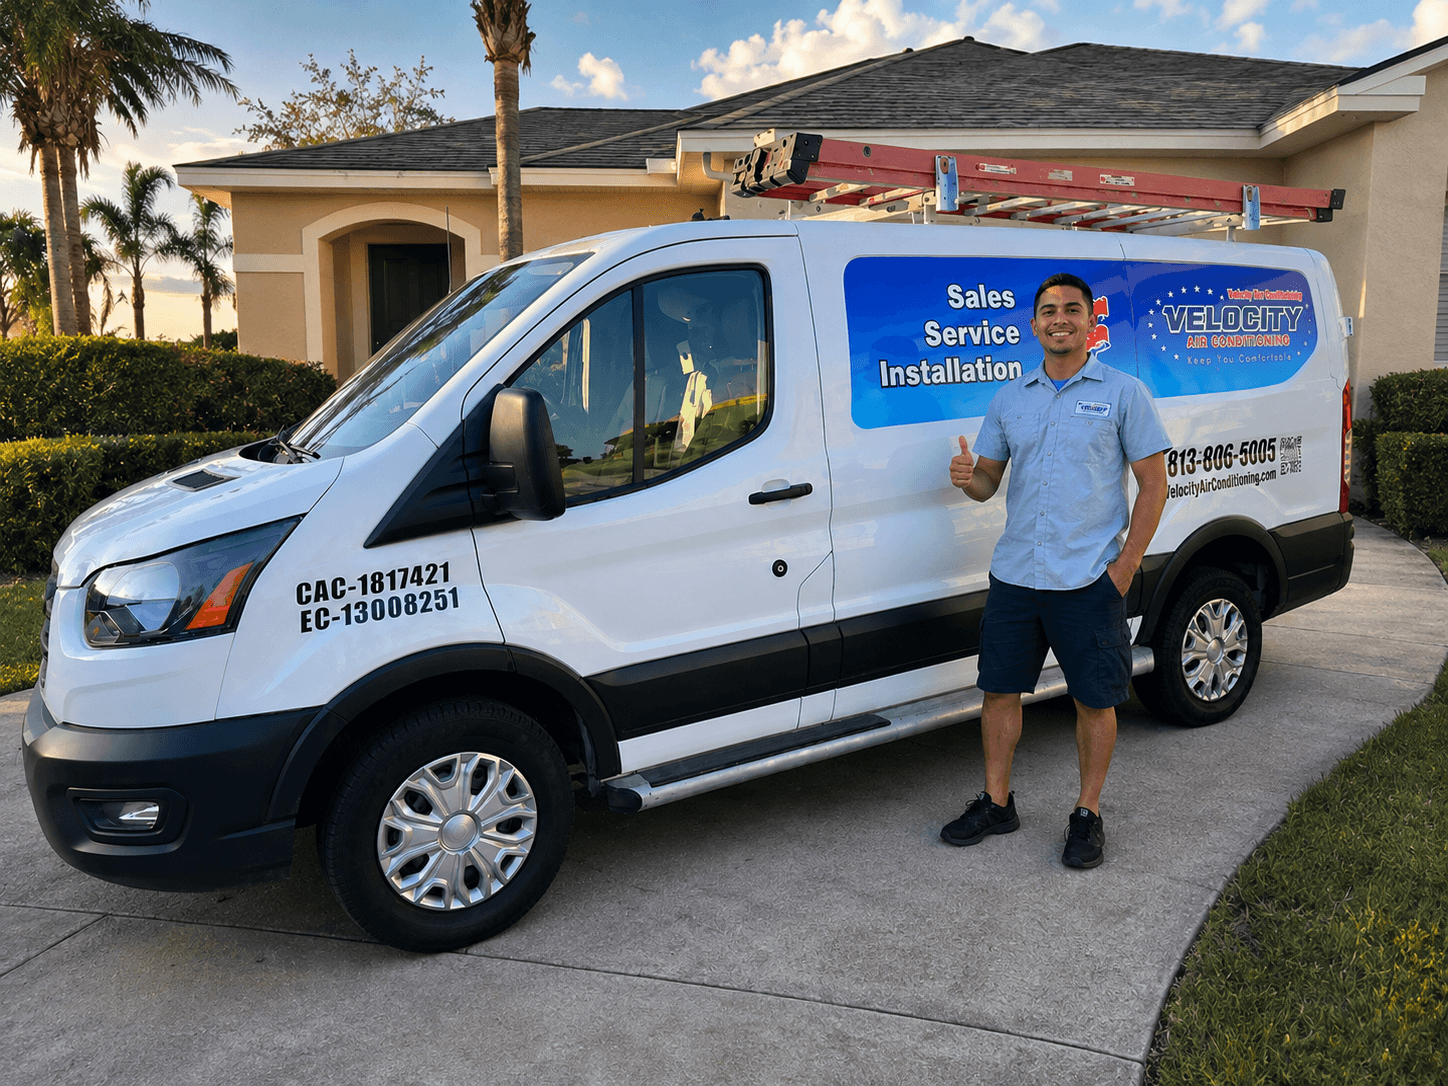
Replacing a heat pump for the first time can feel like being handed a project you never applied to manage. Equipment options, installer quotes, efficiency ratings, and timelines can all land at once, often when the old system is not working as expected. This guide is a roadmap for first-timers in Siesta Key: the decisions you may face, what to ask, and what you can safely check along the way.
Step one: decide whether to repair or replace
Start with an evaluation of the system rather than assuming that a symptom identifies a failed part or means the heat pump needs replacement. Share the system’s age, repair history, comfort concerns, and any changes you have noticed. A qualified technician can inspect the equipment and explain whether repair, further diagnosis, or replacement is worth considering. The decision depends on the system’s condition, repair needs, operating performance, and your plans for the home; no single repair or symptom makes replacement the right choice in every case.
If the system seems unsafe or you notice smoke, a burning smell, or an electrical hazard, keep clear and contact a qualified professional. Do not open equipment or attempt electrical or refrigerant work. Ask the technician whether it is safe to keep operating the system while you consider next steps.
Step two: learn enough to ask good questions
You do not need to become an HVAC expert, but a short vocabulary can help. Heat pumps move heat rather than create it, which can make them an efficient option in mild weather. System capacity should be selected using an appropriate load calculation, not square footage alone. Efficiency ratings compare models under specified test conditions; actual performance also depends on factors such as sizing, ductwork, setup, and operation. Staging and variable-capacity operation can affect comfort as well as efficiency. Ask the contractor to explain how these factors apply to your home and the models being proposed.
Step three: get comparable quotes
When practical, invite two or three companies to evaluate the home in person. Give each the same information: the existing system’s age and service history, your comfort concerns, and your preferred timeline. Compare proposals on the same scope, including how the system will be sized, exact equipment model numbers, planned installation work, commissioning and testing, warranty terms, who handles product registration, and total installed price. Ask for any exclusions or optional work to be clearly identified.
During an evaluation, you can ask what the technician is checking and how the findings affect the proposal. Relevant considerations may include the home’s layout, ductwork, electrical service, and comfort concerns. A brief visit alone does not establish whether an installation will be done well; ask for the proposed scope and sizing approach in writing, and discuss anything that is unclear.
Step four: understand what installation day involves
The exact sequence depends on the home and the equipment. In general, the installation team removes the old equipment, prepares the site, sets and connects the new system, and checks drainage, electrical connections, controls, and refrigerant lines as applicable. Qualified technicians perform electrical and refrigerant work; homeowners should not attempt these tasks. The team should explain the commissioning and testing included in the job, such as checks against the equipment manufacturer’s requirements and confirmation that the system operates in its intended modes.
Before the appointment, clear access to the indoor and outdoor equipment, electrical panel, and thermostat. Secure pets and ask whether the crew needs access to an attic, crawlspace, or other area. Confirm the expected work window and what preparations are needed. At the end, ask for a controls walkthrough, maintenance guidance, and copies of relevant installation and commissioning records.
Step five: handle the paperwork
Before work begins, review the contract, warranty terms, and any product-registration requirements. Warranty coverage and registration rules vary by manufacturer and product, so check the applicable documents rather than assuming a single rule applies. Keep the contract, invoice, equipment information, warranty documents, and any commissioning records together. Using qualified service and genuine compatible parts can help keep work aligned with manufacturer requirements, but it does not guarantee warranty coverage. Refrigerant handling should be performed by appropriately EPA-certified personnel.
Step six: plan the first year
After installation, follow the maintenance guidance for the specific system and keep up with routine filter care as directed. You can safely notice changes such as uneven comfort, unfamiliar sounds, or a change in airflow from the registers. These observations do not identify a failed component. Do not remove equipment panels or handle wiring or refrigerant; contact a qualified technician if a concern persists or the system is not operating as expected. Keep the installation records for future service, but remember that paperwork alone does not prove the system is operating correctly.
Questions first-time replacers ask
How far ahead should I plan?
Plan as far ahead as the system’s condition allows. Time to compare proposals can help you understand the scope and choose a schedule. If the system has failed or you need prompt help, Velocity Air Conditioning offers 24/7 expert service, including nights and weekends, with no extra charge for nights or weekends. Same-day or next-available dispatch may be available in Siesta Key, depending on technician availability.
What is a common mistake first-timers make?
Comparing prices without comparing the work included can make it difficult to judge proposals. Ask each company for the sizing approach, exact equipment, installation scope, testing plan, and warranty information so you can make a more informed comparison.
Do I need to understand efficiency ratings?
You do not need to master every rating, but it helps to compare the same types of ratings across proposed models and ask what they mean for your situation. Ratings describe performance under specified test conditions. Sizing, ductwork, installation, and operation also affect real-world performance.
What should I prepare before installation day?
Clear access to the equipment, electrical panel, and thermostat; secure pets; and plan to be reachable for questions. Ask the installer whether the crew needs attic, crawlspace, or other access, and what work areas should be cleared.
How can I check that the system is operating as expected?
Ask the installer to explain the startup checks and show you how to use the controls. Keep any commissioning records, but do not use readings or paperwork alone as proof that the installation is correct. If you notice an ongoing comfort or operating concern, share what you observed with a qualified technician for evaluation.
Next step: If you are in Siesta Key and considering your first heat pump replacement, ask for an in-home evaluation and written proposals that explain the sizing approach, equipment, full scope, and commissioning plan.