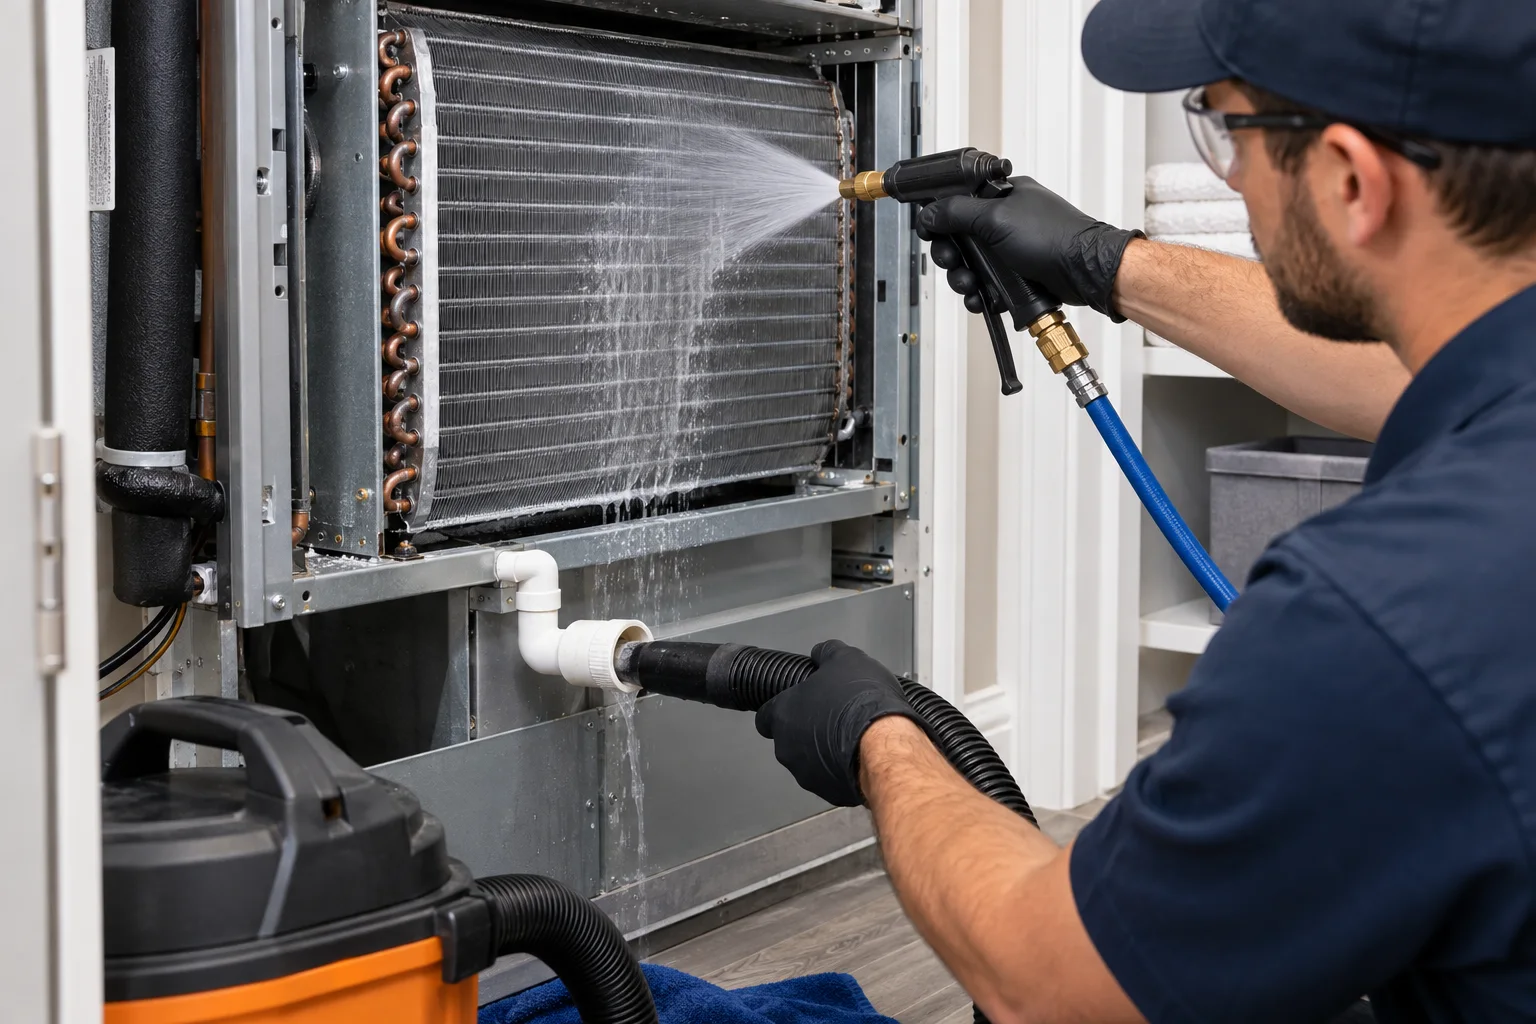
You have booked a heat strip replacement visit in Venice. What actually happens between the technician’s arrival and departure? Most homeowners have never watched an electric-heat repair, so the visit is a black box — the technician disappears into the air handler closet and emerges with an invoice. This page opens the box: the replacement visit step by step, what each step accomplishes, and what you should expect, ask, and receive along the way.
Step one: arrival and interview
The visit starts with conversation, not tools. The technician asks when the symptom appeared — the bill spike, the aux light that never goes out, the breaker tripping, the burning smell — and what you have observed since. Bring your bill history if the symptom is high usage: two or three winter bills, and the same months from the prior year if you have them, turn a vague complaint into diagnostic data. The technician also asks about the system’s history: age, prior repairs, when the filter was last changed. This interview shapes the diagnostic plan; the homeowner who arrives with observations and bills gets a faster, more accurate visit than the one who just says “it’s broken.”
Step two: safe access and initial inspection
Heat strip work is high-current electrical work, so safety comes before diagnosis. The technician verifies power at the air handler, shuts down the strip circuits, and confirms zero energy with a meter before touching anything — lockout discipline, not trust. Then the initial inspection: the condition of the wiring, the state of the sequencers, visible damage to elements, scorch marks, the smell test. Much of what matters is visible before a single measurement: a sequencer with a welded contact, an element sagging onto the frame, insulation discolored by heat. The inspection narrows the field; the instruments confirm it.
Step three: electrical diagnosis
With the system safely accessed, the technician measures. Each strip bank’s heating element is checked for correct resistance — open elements (burned through, no heat) and shorted elements (failed insulation, hazard) identified bank by bank. Sequencers are tested through their staging cycle: energized in sequence on a heating call, and — the critical test — de-energized when the call ends. Amperage draw per bank is measured against the element ratings; a bank drawing wrong current is a bank with a problem. The thermostat and control wiring are verified so the strips are not being summoned by a fault upstream. The breaker and supply wiring get inspected for the heat damage that loose high-current connections cause. Every finding is a measurement, and the failed component is identified, not guessed.
Step four: the explanation and the estimate
Before any repair begins, the technician explains: what failed, what the evidence is, what the replacement involves, and what it costs — approval first, always. This is also the moment for the wider questions: did the investigation find anything else aging in the high-current circuits? Is the heat pump itself (on a heat pump system) contributing to strip overuse, and if so, what does that diagnosis look like? A good technician answers plainly, in writing, with the estimate itemized — parts, labor, and the verification to follow. You decide with information, not pressure.
Step five: the replacement
Approved work proceeds methodically. The failed element bank or sequencer is removed; the genuine manufacturer replacement is installed — factory-correct parts, because warranty-safe repair means the parts the system was engineered for, installed by trained technicians. Connections are torqued to specification — on high-current circuits, a loose connection is a future failure, so this step matters more than it looks. Related wear items found during the inspection are addressed with your approval. The work area is left clean; the old failed component is shown to you, because seeing the burned-open element or welded sequencer turns the invoice into understanding.
Step six: verification and documentation
The visit’s most important step is the last one. Power is restored and the system is run through its full heating sequence: strip banks energizing in order on demand, amperage draws matching ratings, banks dropping out cleanly when the thermostat is satisfied, the aux indicator behaving as it should. The technician confirms the repair under real operating conditions — not a bench test, but the system heating your actual home. Then the documentation: what was found, what was replaced, the readings, and anything to watch. File it with your Venice home records — it supports the manufacturer warranty, informs the next technician, and documents the system’s history. The visit ends with heat verified and understanding delivered: you now know what failed, why, and what to watch for next time.
After the visit
Keep the strips in their proper role with the habits that prevent recurrence: filters on schedule, the aux indicator glanced at on cold mornings, the bill watched as an ongoing diagnostic. Keep the annual service visit — its electrical inspection covers the sequencers, elements, and connections at the heart of this repair. And for the urgent electrical cases that cannot wait for a scheduled visit — strips that will not shut off, a burning smell from the air handler, a tripping breaker — our 24/7 emergency service with same-day dispatch covers Venice around the clock. Electrical faults never improve with waiting, and you now know exactly what the visit will do about them.
FAQs
How long does a heat strip replacement visit take?
Most visits take one to two hours: interview, safe access, electrical diagnosis, the replacement itself, and full verification. Complex findings can extend it.
Will the technician show me the failed part?
Yes — expect to see the failed element or sequencer. Seeing the failure turns the invoice into understanding.
Do I need to be home during the visit?
Being available at the start (for the interview) and the end (for the explanation and verification walkthrough) is ideal. You do not need to supervise the work itself.
What should I prepare before the visit?
Your observations (when the symptom started, what you have noticed), recent electric bills if usage is the symptom, and clear access to the air handler.
Is emergency service available for strip failures?
Yes. Our 24/7 emergency service with same-day dispatch covers Venice around the clock — strips that will not shut off or a burning smell are urgent calls.