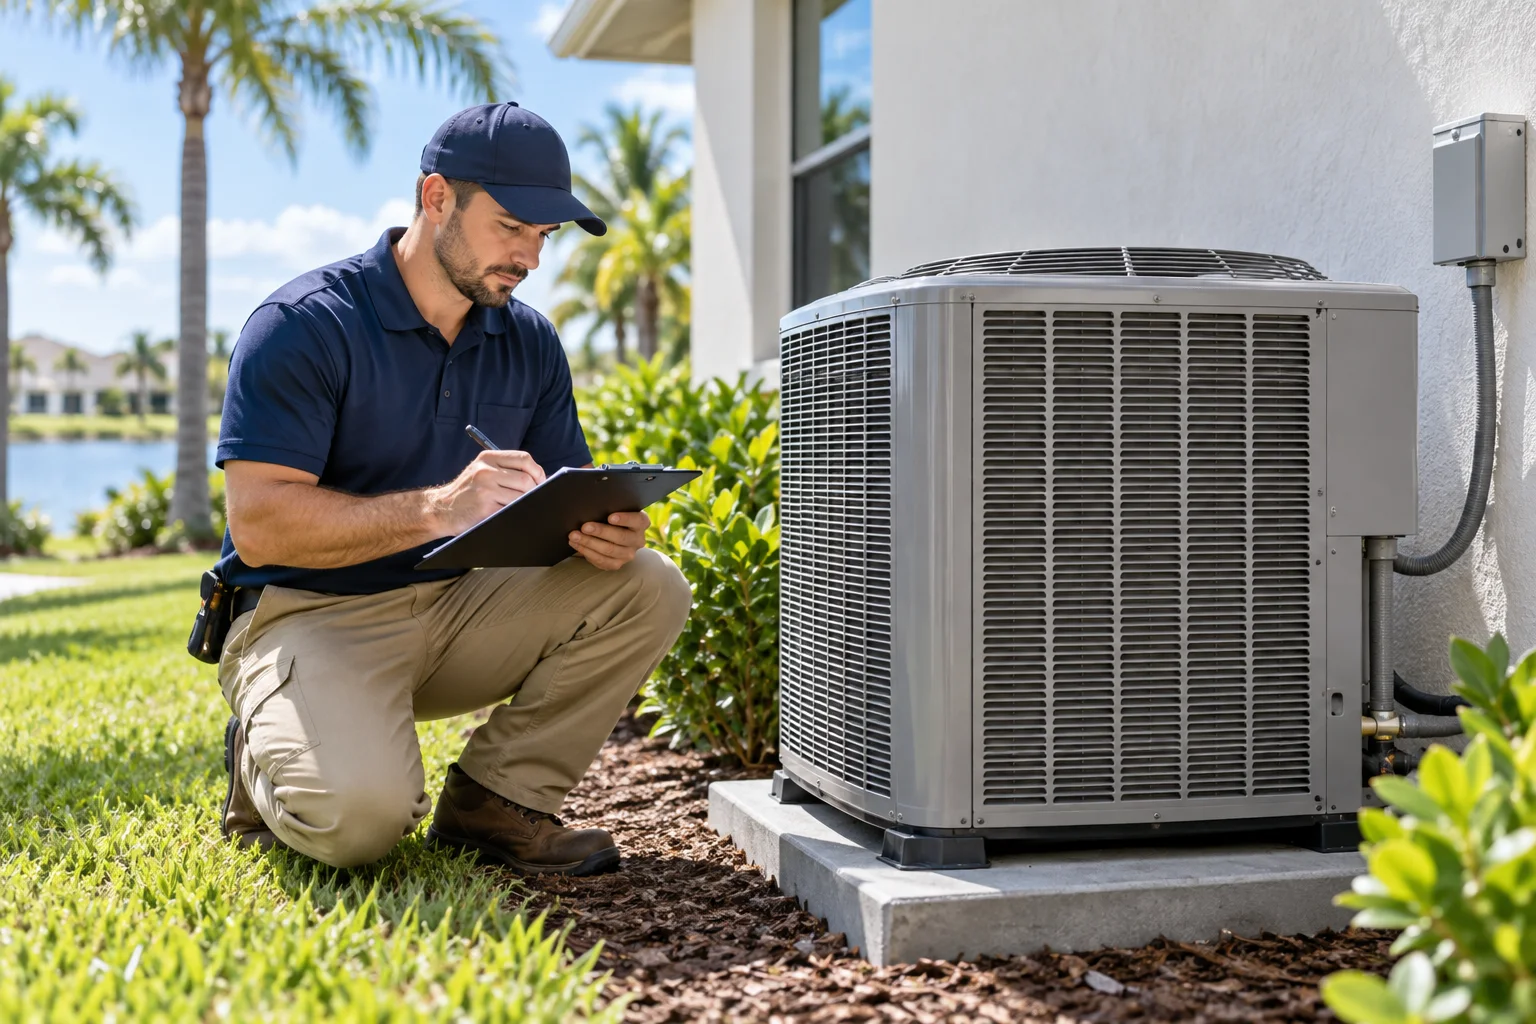
What Happens When the Technician Arrives
The service call is scheduled, the symptom is “blowing cold air in heat mode,” and now a stranger with tools is at your door. Knowing what the visit should look like — the phases, the questions you’ll be asked, the work you’ll see, the proof you should receive — turns an anxious wait into an informed process. This is the repair-visit walkthrough: the anatomy of a professional heat pump service call, from doorbell to departure.
For Ruud owners in Englewood, the repair-visit guide: the arrival, the diagnosis, the estimate, the repair, the verification, and the after.
The Arrival and the Interview
The visit begins before the tools come out. The technician’s interview: when did the cold air start? Constant or intermittent? Any new sounds, smells, or ice? What have you observed at the outdoor unit? Recent filter changes, thermostat changes, power events? The questions aren’t small talk — they’re the diagnostic history that narrows the search before a single panel opens.
Your role: the observant reporter. The pattern details (when, how often, what accompanied it), the timeline (what changed recently), and the honest unknowns (“I’m not sure” beats a guessed answer). The best diagnostic information comes from the person who lives with the system — and the technician who asks these questions thoroughly is the technician who diagnoses accurately.
The Diagnostic Phase
Then the systematic work. Controls verification: thermostat operation, wiring integrity, control board signals — confirming the system is commanded correctly to heat. The refrigeration circuit: pressure and temperature measurements — the readings that reveal charge level, restrictions, and the reversing valve’s actual position — the heart of the cold-air diagnosis.
Electrical testing: capacitors, contactors, sequencers, strip-heat elements — each verified under load where possible. Airflow confirmation: the delivery checked — because restricted airflow convincingly mimics heating failure. Outdoor unit inspection: the coil condition, the fan operation, ice patterns, the defrost system’s function. The phase ends with the named cause — stated plainly, with the evidence that supports it — not a shrug and a parts list.
The Estimate Conversation
The honest estimate conversation has a structure. The cause, explained: what failed and why, in terms you can follow — the reversing valve stuck, the charge low from a leak at a specific point, the control board not signaling. The options: the repair described (parts, labor, what it restores), and — when relevant — the alternatives (the temporary fix vs the lasting one, the repair vs the replacement economics on aged equipment).
The numbers: the cost stated completely — parts, labor, any contingencies named upfront (the “if we open it and find X” scenarios disclosed before authorization, not after). The timeline: how long the repair takes, whether parts are on the truck or ordered, what happens meanwhile. And the authorization: your informed yes — the estimate conversation done right leaves you understanding the problem, the fix, and the price, with no pressure filling the gaps.
The Repair Execution
The work itself, for the common cold-air causes. Reversing valve replacement: the refrigerant recovered per EPA requirements, the valve replaced, the system evacuated, recharged by measurement, and tested through full heating and cooling cycles — the sealed-system work done to protocol. Refrigerant leak repair: the leak located (not just topped off — the recharge without repair is the expensive placebo), repaired, then evacuated and charged by measurement.
Control and electrical repairs: the board, capacitor, sequencer, or thermostat replaced and verified — the system’s commands and power paths restored. Throughout: the work area protected, the old parts shown and explained, the system never left in a worse state than found. The professional repair is methodical, not hurried — the sealed system rewards patience and punishes shortcuts.
The Verification
The phase that separates the professional from the parts-swapper: proving it’s fixed. Post-repair measurements: the pressures, temperatures, and airflow readings confirming the system now operates within specification — the same measurements as diagnosis, now showing the healthy numbers. Full-cycle testing: the system run through complete heating (and cooling) sequences — the cold-air symptom specifically reproduced-then-resolved, not assumed gone.
The homeowner demonstration: the technician showing you the result — warm air at the vents, the normal sounds and cycles, the thermostat behaving — and explaining what was done, what to watch, and what’s normal going forward. The verification is your receipt for the repair’s effectiveness — insist on witnessing it, not just hearing “it’s working now.”
After the Visit
The visit’s paperwork and the path forward. Documentation: the invoice detailing cause, work performed, parts replaced, and readings — the record that protects your warranty and informs future service. Labor warranty: the installer’s coverage on the workmanship stated — the protection that backs the repair beyond today.
Prevention guidance: the maintenance recommendation specific to what failed — the filter schedule, the annual tune-up, the observations that would catch the next issue early. And the relationship: the company that diagnosed honestly, estimated transparently, repaired methodically, and verified demonstrably — that’s the company for the maintenance plan and the next decade of service. The repair visit, done right, is an audition — and the good ones pass it.
Ruud Heat Pump Repair in Englewood
The doorbell-to-departure standard above is the standard you should expect — and the standard we hold. Ruud heat pump repair in Englewood means the complete visit: the thorough interview, the systematic diagnosis with measurements, the honest estimate conversation, the methodical repair, the demonstrated verification, and the documented after. Velocity Air Conditioning repairs Ruud heat pumps across Englewood with the rigor described, and offers 24/7 emergency service for the heating failures that can’t wait. When the cold air won’t quit, call — and expect the visit to answer every question, including the ones you didn’t know to ask.
What will the technician ask when they arrive?
Symptom history: when the cold air started, its pattern, accompanying sounds/smells/ice, recent changes (filters, thermostat, power events). Your observations narrow the diagnosis before tools come out.
How is the cold-air cause diagnosed?
Systematically: controls verification, refrigerant pressure/temperature measurements (revealing charge, restrictions, reversing valve position), electrical testing, airflow confirmation, and outdoor unit inspection — the named cause with supporting evidence.
What should the estimate include?
The cause explained, the repair described with complete pricing (parts, labor, contingencies disclosed upfront), the timeline, parts availability, and — when relevant — the repair-vs-replacement economics. No pressure.
How do I know the repair actually worked?
The verification phase: post-repair measurements within specification, full heating/cooling cycle testing, and the technician’s demonstration — warm air, normal operation, explained. Witness it; don’t just hear about it.
What paperwork should I receive?
The detailed invoice (cause, work, parts, readings), the labor warranty terms, and prevention guidance specific to the failure — the record protecting your warranty and informing future service.
Do I need to be home for the repair visit?
Yes — for the diagnostic interview, the estimate authorization, and the verification demonstration. Your presence is part of the process, not just access.