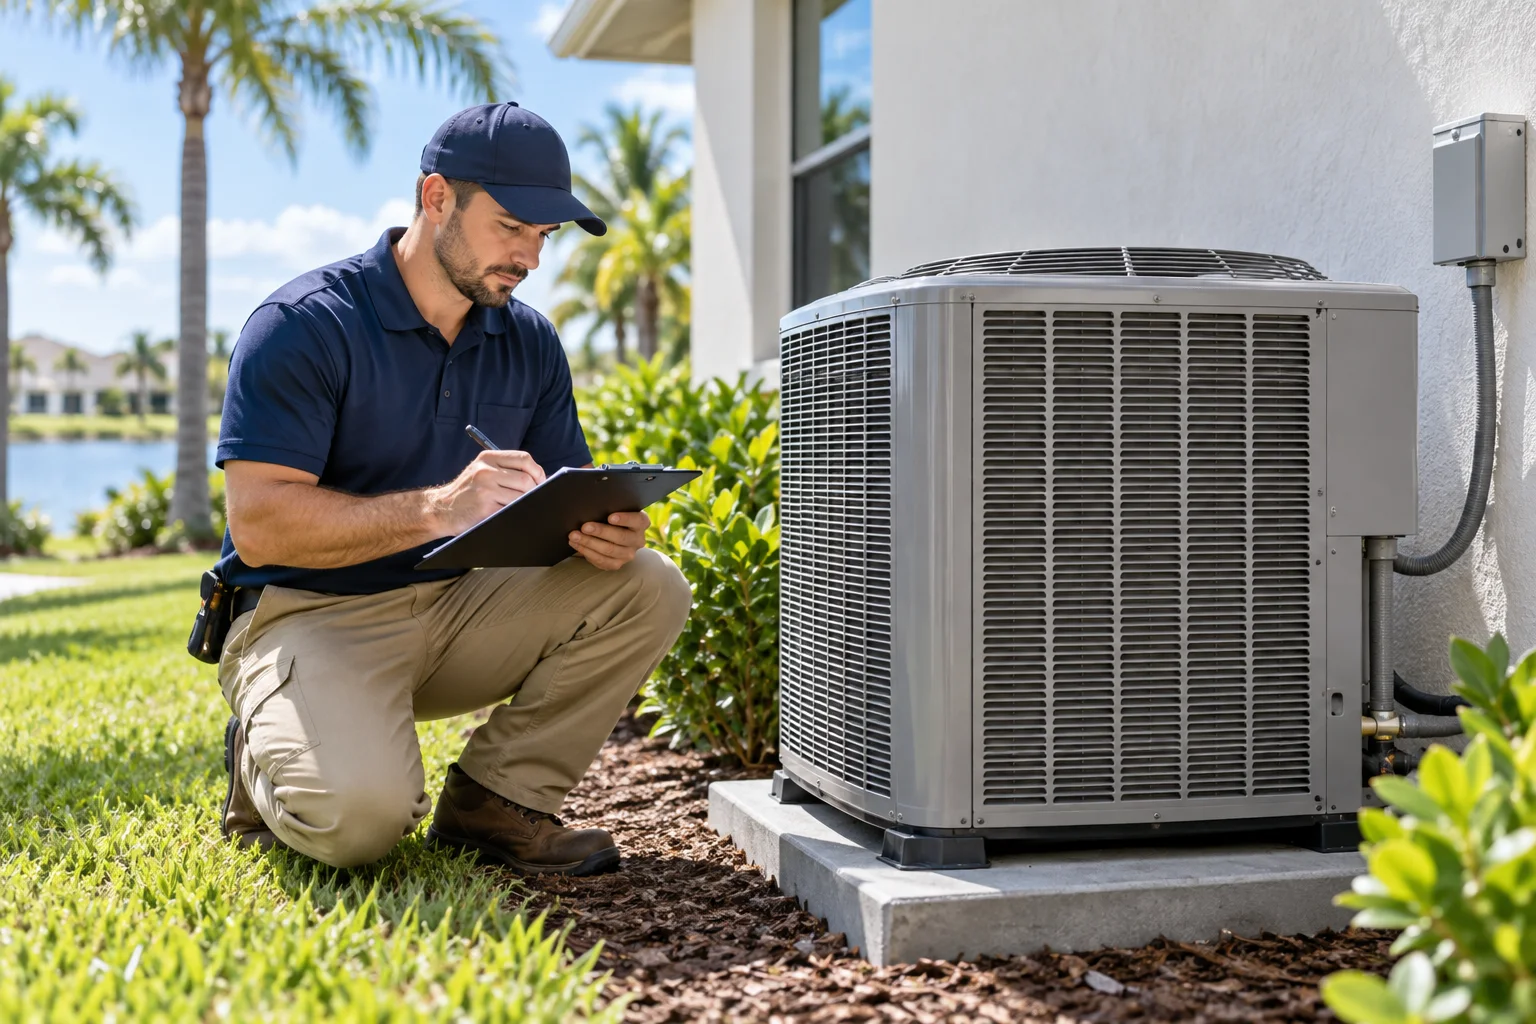
Diagnosing the High Bill: The Heat-Strip Investigation
Your electric bills are high in your Temple Terrace home — and the heat strips in your Ruud system are the prime suspects. But “prime suspect” isn’t a diagnosis: high bills have multiple causes, and the heat-strip failure has four of its own (element, sequencer, contactor, controls). This is the diagnostic path, step by step: confirming the strips are the cause, testing each failure mode in order, and arriving at the repair the evidence demands. Diagnosis first, replacement second — that’s the order that stops the meter instead of guessing at it.
Step 1: Confirm the Strips Are the Cause — The Bill as Evidence
The investigation starts with the bill itself: when did it spike, and what changed? The heat-strip signature is a sudden, sustained increase coinciding with heating season — the bill that jumps and stays jumped. Compare with the same period last year; the strip failure shows as a step-change, not a gradual creep. Gradual increases point elsewhere (rate changes, declining system efficiency, usage changes); the sudden jump points at the strips.
The technician also rules out the other bill-drivers before condemning the strips: the heat pump underperforming (forcing legitimate auxiliary use), the thermostat misconfigured (calling for strips unnecessarily), and non-HVAC causes (the water heater, the pool equipment — the bill doesn’t itemize). The strips are prime suspects, not automatic convictions; Step 1 is the alibi check for everything else.
Step 2: The Controls — Is the System Calling for Strips?
The first instrumented step checks the command: is the system actually calling for strip heat? The thermostat’s auxiliary-heat logic, the wiring to the air handler, the control signals at each stage. A misconfigured thermostat or a wiring fault can energize the strips without any component failure — the system doing exactly what it was (wrongly) told.
The controls step eliminates the cheapest cause class: the strips that are “failed” because they were commanded. If the controls are calling incorrectly, the fix is here — reconfiguration or wiring correction, not replacement. If the controls are commanding correctly and the strips misbehave anyway, the fault is in the strip assembly, and the investigation moves deeper.
Step 3: The Staging — The Sequencer Test
The sequencers stage the strip banks — energizing and de-energizing each bank in sequence as demand rises and falls. The technician tests each sequencer: does the bank energize when called? More importantly, does it de-energize when the demand ends? The sequencer that won’t release is the stuck-on failure’s most common author — the strips running continuously because the staging control never told them to stop.
The sequencer test is timed and observed: call for heat, watch the banks stage on; satisfy the demand, watch them stage off. Any bank that stays energized past its release is the bill’s author, and the sequencer is the repair. The staging must also be correct in order — progressive, not all-at-once — because wrong staging wastes energy even when nothing is “failed.”
Step 4: The Elements — The Continuity Check
Each nichrome element gets its continuity check: the open element (burned out from age and thermal cycling) reads infinite resistance — that bank produces no heat, and the system compensates by running the remaining banks longer, or the thermostat calls for more stages. The failed element is the honest wear failure: not the bill-driver (dead elements don’t consume power), but the capacity loss that forces the surviving strips to work harder.
The element check also inspects for the dangerous middle ground: the element that’s partially failed or shorting — drawing abnormal current, the fire-risk failure mode. Any element outside its specification gets replaced; the heat strip assembly is only as safe as its weakest element.
Step 5: The Contactor — The Stuck-On Test
The contactor is the high-current switch feeding the strips — and the welded contactor is the stuck-on failure’s other author. The technician tests it directly: commanded off, is there still voltage at the strips? A contactor welded closed energizes the elements regardless of what the sequencer or thermostat commands — the strips running on a switch that can’t open.
The stuck-on test is definitive: power commanded off, meter on the strip terminals. Voltage present means the contactor has failed closed — and it’s the repair, full stop. This is the test that finds the failure the bill was reporting: the strips that ran for weeks because the switch couldn’t release them.
The Repair That Follows — Scoped and Proven
With the cause proven, the scoped repair: element replacement, sequencer replacement, contactor replacement, or controls correction — each one matched to the diagnostic finding, presented with its scope and cost for your approval. Genuine Ruud-matched components rated for the exact kilowattage (the EcoNet-enabled system’s staging demands precise specification), every high-voltage connection torqued to specification, warranty-safe practices throughout.
Then the proof: the system run through its heating stages, each bank confirmed to energize only when called and to release when the demand ends, the stuck-on failure specifically verified cured — commanded off, meter on the terminals, zero volts. The investigation predicted the fix; the verification proves it. Most heat-strip calls resolve in this single visit, typically one to two hours — and the next electric bill is the final confirmation.
Same-Day Service in Temple Terrace — Investigate the Bill
The bill was the first clue — now let the investigation close the case. Our technicians serve Temple Terrace with same-day dispatch, run the five-step sequence that proves the cause, and repair what’s actually wrong in a single visit. If your electric bills are high and the heat strips are suspect, call now.
Frequently Asked Questions
How do I confirm the strips are causing my high bills?
The signature: a sudden, sustained bill spike coinciding with heating season, confirmed against the same period last year. The technician’s Step 1 rules out the other causes; Steps 2–5 prove the strip failure. The bill is the clue; the diagnostic is the proof.
How long does the diagnostic and repair take?
Typically one to two hours for the full five-step sequence and most repairs. The high-voltage work is methodical but straightforward, and the staging verification is part of every visit.
Can I just disconnect the heat strips myself?
No — 240-volt high-current circuits, fire and shock hazards, and you’d disable the system’s designed backup heat. The diagnostic finds whether the strips are the problem; if they are, the proper repair is the safe answer.
How do I prevent the next heat-strip failure?
The annual maintenance visit: sequencer operation, contactor condition, element continuity, and the thermostat’s auxiliary-heat logic — all measured while they’re still observations. The stuck-on failure is preventable when the staging gets its annual check.
Is the repair worth it?
The meter does the math: a stuck strip’s seasonal energy premium dwarfs the repair’s one-time cost, usually within a billing cycle or two. The diagnostic-led repair pays for itself in the bills it prevents.