[vc_row type=”in_container” full_screen_row_position=”middle” column_margin=”default” column_direction=”default” column_direction_tablet=”default” column_direction_phone=”default” scene_position=”center” text_color=”dark” text_align=”left” row_border_radius=”none” row_border_radius_applies=”bg” overlay_strength=”0.3″ gradient_direction=”left_to_right” shape_divider_position=”bottom” bg_image_animation=”none”][vc_column column_padding=”no-extra-padding” column_padding_tablet=”inherit” column_padding_phone=”inherit” column_padding_position=”all” column_element_spacing=”default” background_color_opacity=”1″ background_hover_color_opacity=”1″ column_shadow=”none” column_border_radius=”none” column_link_target=”_self” gradient_direction=”left_to_right” overlay_strength=”0.3″ width=”1/1″ tablet_width_inherit=”default” tablet_text_alignment=”default” phone_text_alignment=”default” bg_image_animation=”none” border_type=”simple” column_border_width=”none” column_border_style=”solid”][vc_column_text]
 Install a Thermostat Step by Step
When you install a new thermostat a smart thermostat can help fix this issue by adjusting to the users habits and even the weather. Many smart thermostats even allow the user to control or monitor their thermostat from their smart phone.According to the Environmental Protection Agency (EPA) a programmable or “smart” thermostat can lower your energy bills by 20%. However another study showed that roughly 90% of these thermostats never actually get programmed and the savings are never realized.
Choosing the Right Thermostat
In addition to the above “Smart Thermostats” there are also many conventional programmable thermostats… But to benefit from them, you’ll need to program them first. According to ENERGY STAR, the three most common, non “Smart” thermostats are differentiated by the number of different days that can be uniquely programmed.When you install a thermostat the three models are 7 day models (which allow for specific customization each day of the week), a 5/2 day model, which allows custom settings for the work week and weekend, respectively, and a 5/1/1 day model, which allows programming for the week days, and customizing Saturday and Sunday.
Turn Off Power to Your AC and Furnace
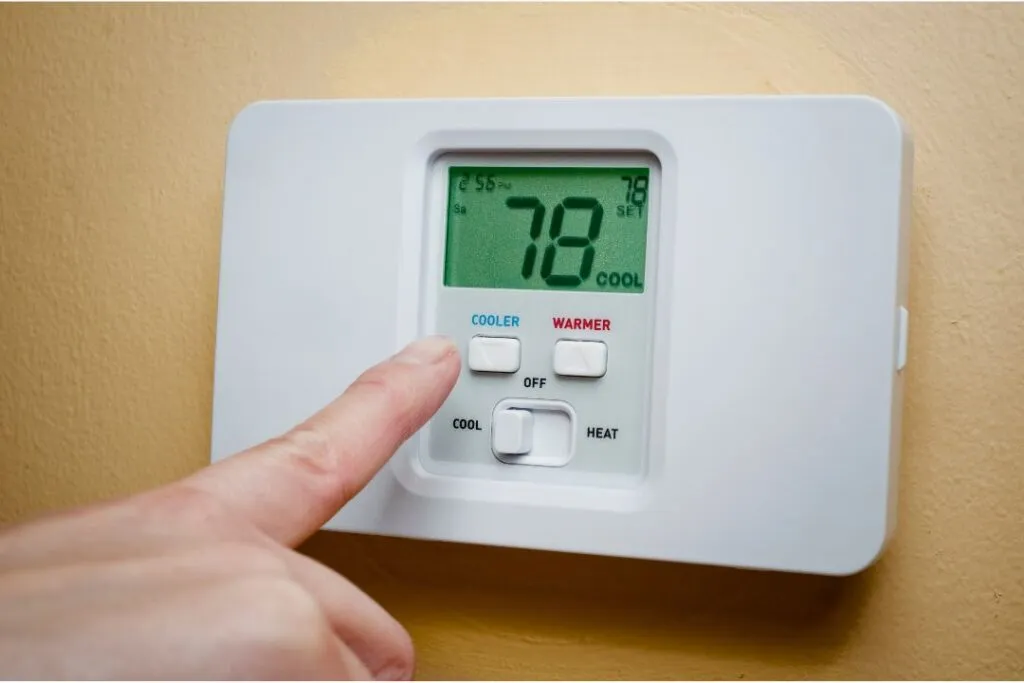
 Whenever dealing with electricity better safe than sorry is always a good motto. Turn off the power to your AC and furnace at thermostat first and then at the breaker by switching the breaker to the off position.You can confirm that the system is off by adjusting the thermostat hotter or colder and check to see if the system comes on. Once you have confirmed there is no power to your system we can get started.
1. Remove the Thermostat Face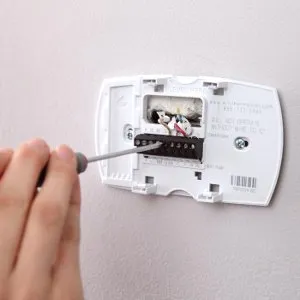
The face of your existing thermostat should just clip into place and should be easy to remove.
2. Take a Picture of the Wiring
This step is not required but it can be helpful to have a reference when you are ready to wire your new thermostat.
3. Disconnect Wires from the Old Thermostat
For some thermostats you may need a small screwdriver to loosen the screws that are holding the wires in place.
4. Remove the Old Mount
Most thermostats will have two screws that secure the mount to the wall. Simply remove these screws and then the old mount should come off the wall.
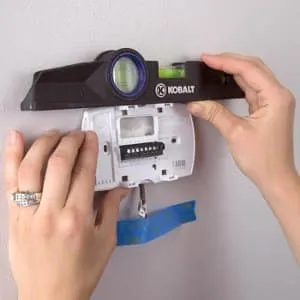
5. Mount the New Thermostat
First we will connect the wires on your new thermostat. On the mount, you’ll notice that there are letters. Each letter stands for a different colored wire: “G” – green, “R” – red, and so on. Simply insert each colored wire in its corresponding initialed receptor. You can also refer to the picture from step 2 to use as a guide. Next we need to attach install a thermostat mount to the wall using the two screws. You may need to use drywall anchors so the new mount will be secure.
6. Attach the Thermostat Face
The face should just click into place.
7. Turn on the Power to Your System
This is just doing the same step that we started with only in reverse.
8. Configure Your New Thermostat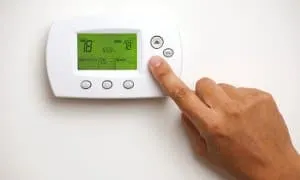
While all programmable thermostats have roughly the same functions, they aren’t universally operated in the same manner. If you have the manual for your thermostat, keep it handy in case it has a unique set of operations.Track when you leave the house (or workplace) and are away regularly for at least 4 hours. Make notes about your schedule for 7 days, including all 24 hours each day. The current time and date must be entered into your programmable thermostat for it to function properly. Nearly all thermostats have a button that reads “set” or possibly even “day/time” Press this button and a clock will appear on the display for you to set the time and the date. Use the up and down arrows to set the items and press the same “set” or “day/time” button again after each step to proceed to the next.Once you have the date and time programmed, you are ready to program the thermostat’s schedule. Some brands will have an actual “program” button, whereas others may require you to scroll past the time and date information by hitting the “set” button several times. You will reach a screen on the display where it prompts you to set a “wake” time for weekday mornings. You may actually want to set the time very slightly before you wake up so that the system is already running.With the “wake” time set, you will now have to set the “wake” temperature. Press the respective button for your model thermostat again and the temperature will begin blinking. Use the up and down arrows to find the temperature you want.With the “wake” time and temperature set, the thermostat will prompt you to schedule the time you leave for the day during the week. Most people set these temperatures much higher during the summer or lower during the winter to conserve energy and run the system less while no one is home. Use the same process of hitting the “set” or “program” button and the up and down hours to cycle through and find the settings you want.The next time and temperature setting the thermostat will request is for what time you return home during the week. As with the “wake” setting, you may want to set the time fifteen-to-thirty minutes before you get home if you want to ensure that the home has already reached the temperature when you arrive.  The fourth and final weekday setting the thermostat will request is for the time you go to sleep at night. Since many people might open windows during summer nights or pile on extra blankets during the winter, you can save money and energy by respectively raising or lowering the overnight temperature setting.Once you finish setting the weekday schedule, the thermostat will prompt you to set the same four times—wake, leave, return, and sleep—for the weekend. As with the other settings, keep using the “set” or “program” button in order to advance the menu and keep using the arrows to adjust the times and temperatures.Depending on your thermostat model, once you hit “set” or “program” on the final weekend “sleep” settings, it may return you to the current day, time, and temperature and begin following the schedule. Other models may have a “run” button that you must press to initiate the schedule.You are now ready to start saving money now that you have installed a new thermostat. As always if you find that you are not comfortable with doing this project yourself or if you have any questions you can contact the Pros at Velocity Air and we will be happy to help.[/vc_column_text][/vc_column][/vc_row]
